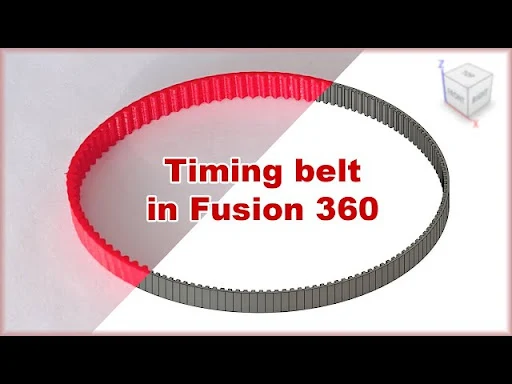
While working on my personal DIY borehole inspection camera project (which I’ll share details about soon), I realized I needed a closed loop belt. Although I have a few meters of an open belt that I could cut and tie to length, I wanted to try printing a 3D version out of curiosity. A quick Google search led me to an excellent video where the creator shows how to design a GT2 closed loop timing belt optimized for 3D printing using Fusion 360.
The same creator shares another video testing different TPU flexible filaments, 3D print settings, and evaluating tensile strength, deformation, torque, and durability. He also shares the 3D print STL file on Printables.
After watching both videos, I felt confident to print my own. The main difference will be the belt length, and the challenge lies in printing the belt itself. Flexible filaments can be tricky—they tend to slip even on direct drive extruders, especially with 1.75mm filaments compared to 2.85 or 3mm ones.
Designing the closed loop GT2 timing belt:
First, I used an online GT2 belt calculator (you can find plenty by searching) to figure out how many teeth I’d need for my belt. I entered the number of teeth on each gear and the distance between their axles.

|
|
Distance between gears axle |
Since I don’t have access to Fusion 360, I modeled one GT2 belt tooth in SketchUp following the video tutorial. I first drew the belt perimeter, then used the PathCopy plugin to duplicate the tooth along the path, joined everything with Boolean Outer Shell, and voilà. You can download the tooth profile from 3D Warehouse and use it to print your custom belt.

|
| GT2 Belt tooth profile |

|
|
GT2 Belt Design |
With the 3D file ready, I exported it to STL for printing using a 0.3mm nozzle and a generic Chinese TPU filament spool.

|
|
TPU filament I used |
3D Print Settings I Used for This GT2 Timing Belt:
- Layer Height: 0.12mm
- Line Width: 0.3mm
- Infill: 0%
- Top/Bottom Solid Layers: 0
- Outline/Perimeters: 1
- Print Speed: 30mm/s

|
| 3D Print Slicing Preview |
The Results:
The results were acceptable considering I hadn’t dried the filament before printing. I found the belt was a bit loose—not due to calculation errors, but design flaws. I reduced the number of teeth by deleting a few and printed again.

|
| GT2 belt 3D print results |
The final results were great—the belt fit perfectly on gears I printed with a 0.6mm nozzle. So yes, a long 3D printed closed loop GT2 belt works! If you’re wondering, it also fits well on 3D printed GT2 gears. Pics below.


No comments:
Post a Comment